Care & Storage / THE HANDBOOK
How to Stack Cookware Without Trapping Moisture or Scratching Coatings
Practical guidance · Check your own cookware and appliance instructions.
You do not need a perfect cabinet system to protect your pans. Start with completely dry cookware, separate the surfaces that touch, and keep the stack easy enough to lift apart without dragging one pan through another.
That routine matters more than making every piece nest into the smallest possible footprint. A compact stack becomes a poor storage solution when you have to wrestle it apart every time you cook.
Empty the cupboard and watch the contact points
Take your cookware out when everything is cool and the shelves are clear. Look at where each pan’s base, rim, handle rivets, and lid would touch the next piece in a stack.
The contact point is often somewhere other than the middle of the cooking floor. A small pan can rest against a larger pan’s sloping wall, and an upside-down lid can press its rim against an exposed surface.
Place the pieces together gently without sliding them. If the fit feels wedged, unstable, or dependent on bending a handle out of the way, plan separate spaces rather than forcing the combination to work.
Keep a note of the pans you use most often. Those deserve the easiest route out of the cabinet, even if that means your occasional stockpot takes a less convenient position.
Dry before you add a protector
A liner separates surfaces; it is not a shortcut around drying. Wipe the inside, underside, rim, handle connections, and lid before you put cookware into an enclosed cupboard.
Lodge’s enameled-cast-iron guidance calls for complete drying and storage in a cool, dry place. Its instructions also recommend pot protectors when you store the vessel with a lid, which is different from sealing a damp pot beneath a closed lid.
Check the lid’s underside and the area around its knob. Water can remain in details that are easy to miss when you only dry the broad, visible surfaces.
If your towel is already damp, switch to a dry one. Let the pieces finish drying separately, following their own care instructions, before you add a clean, dry protector and assemble the stack.
Do not leave a wet cloth between pans because you hope it will absorb the last drops. When a separator becomes damp or dirty, remove it and dry or wash it as its own instructions allow.
Treat coatings, enamel, and iron differently
For a nonstick pan, give the interior its own protected space and follow the maker’s storage directions. Avoid treating the coating as a shelf for a heavy pot simply because the pot happens to fit inside it.
For enamel, protect the rim and the other places where hard pieces can meet. Le Creuset recommends a dry cupboard and, where possible, a single row rather than stacking; when you must stack, it advises a protective layer between pieces.
Seasoned cast iron needs its own cleaning and drying routine. Lodge describes washing, complete drying, and a thin layer of oil, so do not transfer an enamel routine to bare iron just because both pans are heavy.
Stainless steel can still benefit from organized spacing. You may accept ordinary cosmetic wear, but that does not make scraping a pan across another pan’s interior a useful habit.
Keep the labels on your storage plan specific: nonstick skillet, enamel pot, seasoned iron, and stainless saucepan. A simple material note helps everyone in the kitchen return a piece to the right place.
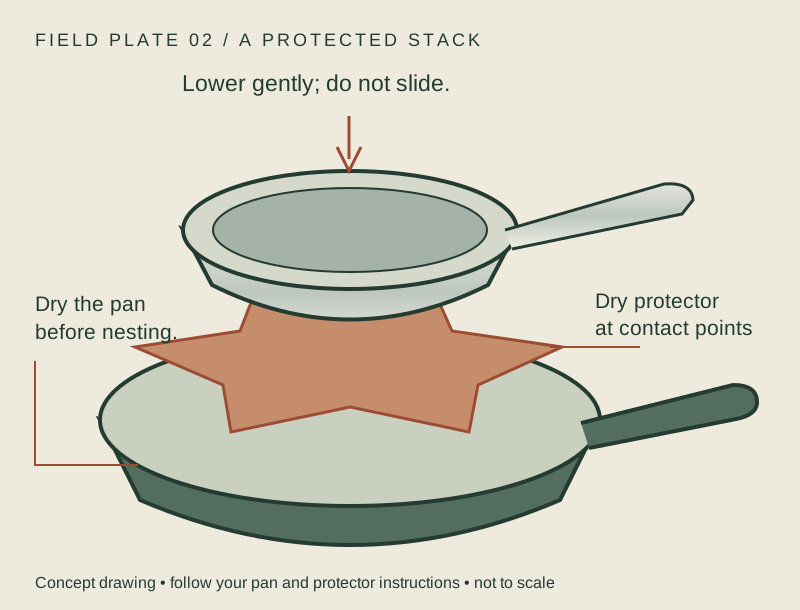
Put a barrier where contact actually happens
Choose a clean, dry pan protector that reaches the places where the nested pan touches. A small square in the center will not help if the upper pan rests on the lower pan’s side wall.
Check the fit with the pieces empty and cold. Lower the upper pan gently, then look around its edge to see whether the protector separates every hard contact point you intended to cover.
A soft barrier can reduce direct rubbing, but it does not make an overloaded stack stable. If the upper pan rocks, tilts, or rests on a handle, remove it and change the arrangement.
Use products intended for cookware storage and follow their cleaning instructions. Avoid improvised materials that shed grit, hold moisture, or leave residues on a cooking surface.
Keep a separate clean spot for spare protectors while the pans are in use. A protector left beside a greasy stove or beneath a wet dish rack can bring that mess straight back into the cupboard.
Keep weight low and retrieval simple
Place heavy cookware on a sturdy shelf that is suitable for the load, ideally where you can lift it without reaching overhead. Check the shelf or organizer’s own load guidance rather than guessing from how substantial it looks.
Build only a small stack you can comfortably separate. There is no universal safe number of pans because weight, shape, shelf construction, and your ability to lift them all differ.
If you need the bottom pan, lift the upper pieces into a clear landing area first. Pulling the bottom pan sideways while the others remain on top creates exactly the scraping and instability you are trying to avoid.
Position handles so they do not catch on the cabinet door or on each other. Check the route with the door fully open and leave enough room for your hand, not merely enough room for the pan itself.
You can keep an occasional-use pot farther back, but do not hide a daily skillet underneath it. Storage should match the way you cook on a Tuesday night rather than the way the cupboard looks in a photograph.
Give lids their own route
Separate lid storage often makes a pan stack easier to use. A stable divider or a suitable rack lets you take a lid without first lifting another pot, provided the organizer fits the shelf and supports the lids properly.
Keep glass lids from knocking into exposed metal edges. Position knobs and handles so they do not become pressure points against another lid or against the cabinet wall.
If you store a lid upside down on a pot, follow the manufacturer’s guidance and put a suitable protective layer at the contact points. Check that the lid is stable rather than balanced on its knob or on an uneven rim.
Do not use storage clips, felt protectors, or packaging spacers during cooking unless their maker specifically approves that use. A storage accessory is not automatically a heatproof cooking accessory.
When separate storage is the better answer
If you repeatedly remove three pieces to reach one, try a single row or a suitable vertical organizer. You may gain more usable space by improving access than by squeezing every diameter inside another.
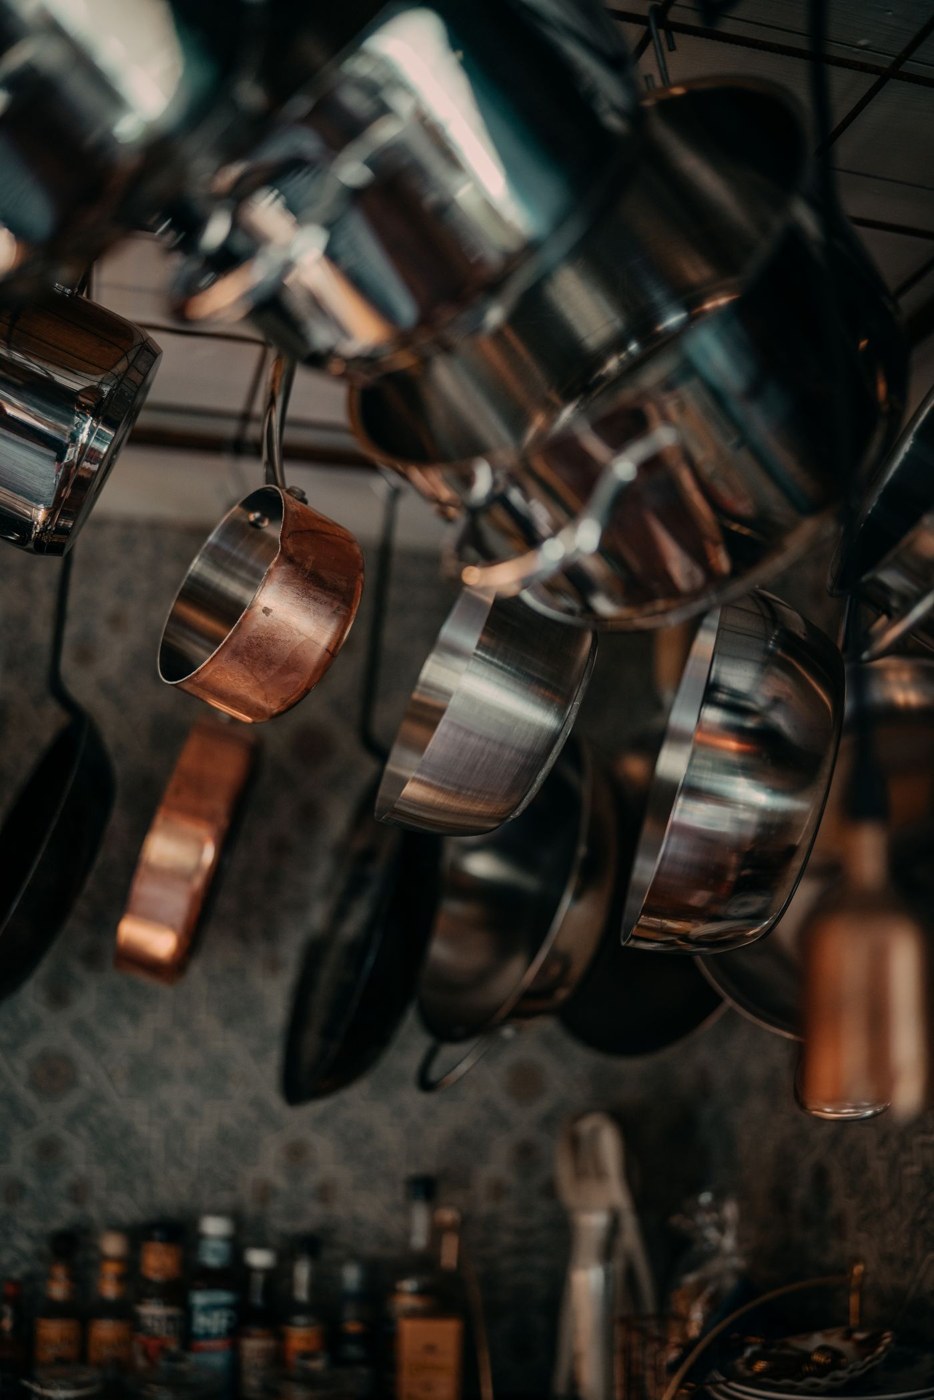
Hanging storage can separate pans without nesting them, as the photograph illustrates. It still needs hardware, mounting, and load capacity suitable for the actual cookware, so the image is an organizational example rather than an installation plan.
Keep hanging pieces away from places where handles become obstacles or where cooking grease quickly collects. Check that the pan can be lifted off the hook without striking the neighboring piece.
If no arrangement works, move the least-used cookware to another dry storage area. You do not need to replace your whole collection or buy an organizer before trying a simpler distribution.
Do a quick check when you put pans away
Before closing the cupboard, check for moisture, direct hard contact, and a clear handle path. If you notice a damp protector, a new rub mark, or a stack beginning to lean, adjust it immediately instead of waiting for the next cooking session.
Once a week, take a moment to clear crumbs and grit from the shelf and inspect the separators. A clean barrier and a short, stable stack are easier to maintain than an elaborate arrangement nobody wants to rebuild.
Make the system understandable to anyone who washes up. A little extra space around a daily pan can protect its finish and save you the small frustration of rearranging the entire cupboard before dinner.
Sources & scope
Checked October 22, 2026. Product dimensions refer to the exact model; practical examples are original planning exercises.